Outstanding product photos are the number one deciding factor when it comes to Etsy customers making a purchase – the quality of images was ranked by 90% of shoppers as the most important factor when deciding to buy on Etsy.
On top of that, the same way potential customers are attracted to superb product photos, so are those who look for products to feature. Being featured by Etsy can be a big opportunity for your online shop and these product photography tips can enable you to achieve Etsy success.
This guide breaks down how-to create quality images to entice Etsy shoppers to check out your listing and make a purchase. These tips will hold your hand through the entire process so that you can learn how to create images that sell.
What Makes a Good Product Photo?
There’s a range of product photography styles that Etsy sellers use for great product photos. What works best for your shop will depend on the product and the brand, but there are universal aspects to consider to ensure customers get an accurate sense of your product:
Clear shot of the product
Make sure your product is the center of attention and the image is clear with a simple background. Anything that obscures the focus or doesn’t add value may confuse or distract.
Inspires customers to click
Product photography can help a customer see how it might fit into their own life. Imagery encouraging touch increases perceived ownership of a product, inspiring a purchase.
Reveal the purpose of the product
Lifestyle or in-context product photography is more interesting than functional photography. Showing the product in the context of its setting conveys the emotions stirred by your product and your brand, rather than showing simply what your product looks like.
Information needs to be relayed
Showing your customer exactly what they will be getting provides a positive shopping experience and builds brand loyalty. Aim to convey the size of the product, color, material composition, and key features to limit returns.
How to Take Pictures for Etsy

Like any other project, this one can be broken down into small, easy-to-conquer parts.
1. Strategy
Product photos come in a range of styles for different purposes, depending on whether you want to maintain a consistent way to present your products or alternate between styles. Check out what works best for your products and fits your shop’s theme with these four steps below:
- Research and planning – Start by creating a list of the images you need. Visualize what defines your brand and collect product photos that inspire you. This can help you define your photography style and match it to your store’s needs. Research the competition and make sure your images outperform theirs.
- Focus on your main image – This image is arguably the most important in your marketing efforts. Look at possible methods to differentiate yourself from the competition and ensure your listing shines. Some quick tips include creative lighting, unique product arrangements, obscure camera angles, and inventive product interaction.
- Develop effective secondary images – Once the customer has already clicked on the listing, now your images should convince them to convert. Your secondary images can be crucial in securing sales. Think of questions customers may be asking that can be answered by your photos when planning these shots.
- View photography as a marketing tool – Your images are a digital marketing tool that you can test, measure, and optimize. You might have an idea of what performs better, but tracking the performance will justify your investment. Measure your results by performing simple A/B tests with new images. Aim to constantly review and consistently improve your Etsy product images to always improve sales numbers.
2. The Set and Shooting
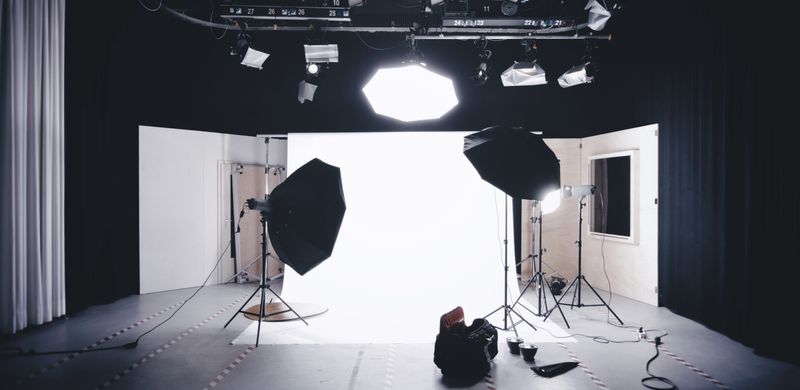
You have two light sources to choose from, each with its own benefits. Setting up lighting is crucial, as it heavily influences the image quality.
If you are on a budget then natural lighting is ideal. Make sure to shoot during the day when the sun is at its peak, but avoid direct sunlight as too much light may cause harsh exposure.
Pro Tip: To diffuse natural light, you can use a white bedsheet over the window.
Prep for the shoot
Start with a list of all the shots you want to take. This can help you plan the order of the shoot and which equipment you will need. Consider shooting multiple products at once and photographing in batches to reduce time spent on photoshoots.
Pick your background
Pick a background that doesn’t distract from your product and complements it. One of the most popular options is a seamless background that delivers a clean, smooth backdrop. Alternatively, outdoor settings can work best for lifestyle shots.
Choose how to light your shots
The right lighting can be key to a successful photoshoot. Aim to avoid harsh light, either natural or artificial. As both of these light sources have different color tones, it’s recommended not to mix them.
Keep your shot steady
Clear photos give shoppers more confidence. Anchoring your camera, using autofocus, and being cautious with slow shutter speeds can be crucial to keep your product in focus.
Check the frame of your shot
Plan out each image by framing the scene through your viewfinder. Getting rid of possible distractions and lining up the shot can get rid of the need during editing later.
Take some test shots
Experiment with some test shots to check the lighting, background, focus, and framing of your images are effective. Once you’re happy, start the shoot!
3. Basic Editing
Editing tips can take your Etsy photos from boring to beautiful, but understanding where to start can be tricky.
Product photographer Sarah Aagesen recommends a photo editing process where you:
“Start editing by first adjusting any brightness and exposure issues. I’ll then adjust the white balance, make sure the colors are just right, and then I’ll edit the contrast, highlights, and shadows.”
Focusing on sharpness and lighting when using a photo editor can improve a product image within minutes. Even if you have used a plain background, some color correction can help you bring out accurate colors in product photos.
Picking the right editing tool can be tricky, with many available options out there.
Some of the free software or apps that come with your computer or phone may not have many features beyond the crop tool. However, there are great options that are either free or very affordable.
Some of the best smartphone apps are:
- Snapseed
- VSCO
- Adobe Lightroom Mobile
- Distressed FX
- Filmborn
- Lens Distortions
- Mextures
- CAMERA+ 2
- Moment – PRO CAMERA
Some of the most popular paid choices on the market:
- Adobe Lightroom
- ON1 Photo RAW
- Alien Skin Exposure
- Capture One
- ACDSee Ultimate
- DxO PhotoLab
- Photo Ninja
- RawTherapee
- Corel AfterShot Pro
Bring out the full potential of your photos and get them looking their best on a budget with this breakdown of free photo editors:
- GIMP (the GNU Image Manipulation Program)
- Ashampoo Photo Optimizer
- Canva
- Fotor
- Photo Pos Pro
- Paint.NET
- PhotoScape
- Pixlr X
- Adobe Photoshop Express Editor
- PiZap
Which editing image software you should get varies from person to person and there is no perfect answer. For example, Adobe Photoshop is a well-known editing program, however, it’s aimed at professionals and has a steep learning curve.
VSCO is one of the most popular app editors and offers quite a lot of flexibility for a smartphone app.
There is a wide range of photo editing tools available and most can be intimidating when you first use them. However, with video guides and courses editing can become surprisingly smooth within a few days. You can find tutorials that will take you from beginner to advanced from these resources:
- Youtube – one of the biggest video platforms. It has tutorials covering seemingly every topic. Photo editing software is no exception, with free guides available for every level.
- LinkedIn Learning – a learning platform with a range of courses to build professional skills. You can find tutorials on photo editing from a range of resources. Whilst not free, you can get full access with a monthly membership.
- Skillshare – offers a vast range of courses and classes for different photo editing techniques and tools. This platform is less about passive watching and more about interaction, so get ready for some homework. You can start off with a free 7-day trial and check out some classes before committing to a monthly or annual membership.
- ProEdu – offers a range of highly specialized photography courses at a premium price. If you are looking to invest in your skills to take great photos for Etsy, you can combine courses and work your way up to an advanced level.
Choosing a Product Photo’s Style
There’s a range of product photography styles that Etsy sellers use for great product photos. What works best for your shop will depend on the product and the brand, but there are universal aspects to consider to ensure customers get an accurate sense of your product:
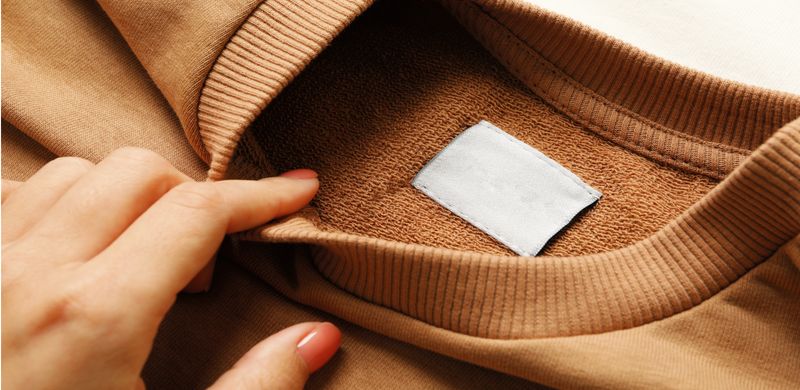
Detail
This close-up shot often requires specific camera settings such as a macro lens and precise lighting to illuminate detail. The background is usually blurred to help the foreground appear short and vivid beyond the close-up.
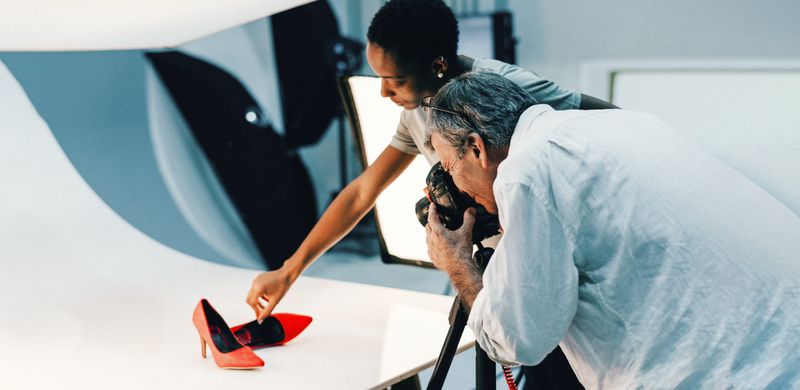

Studio
The classic image of the product against a white background. These clear product images are recognizable throughout eCommerce websites.
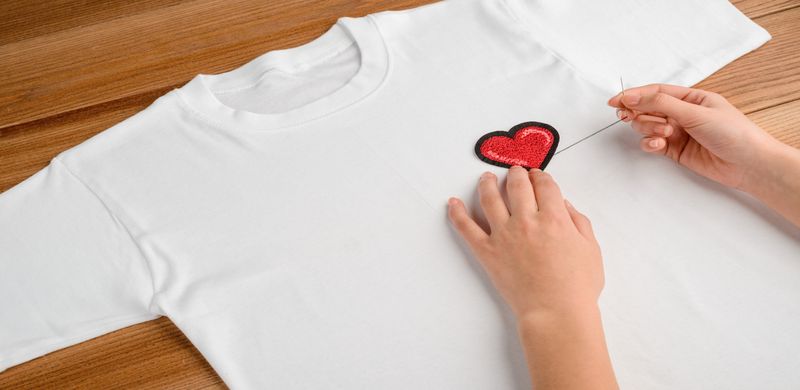

Process
Capturing the process of creation can add a simple human touch that resonates with potential buyers. A photo that depicts the product in creation builds a story behind your Etsy shop and helps the audience connect with the creator.
Group
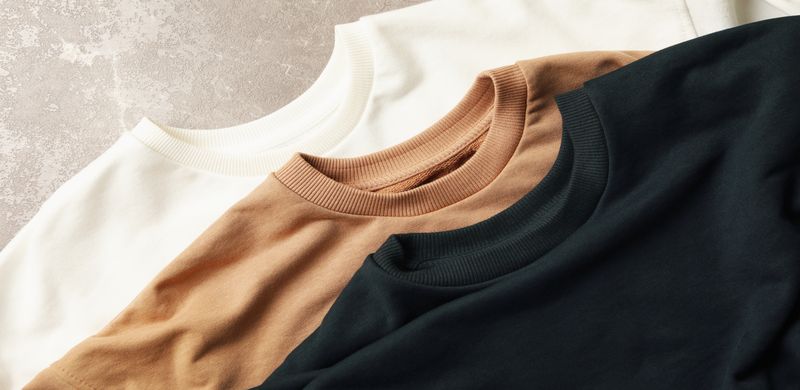
These product images can show the potential buyers the range of options available for a particular product. In one image you can depict the shape, color, variety, and size of the products. Stick to a theme, a limited color palette, and some props that don’t distract from the product itself to make your image stand out.


Lifestyle
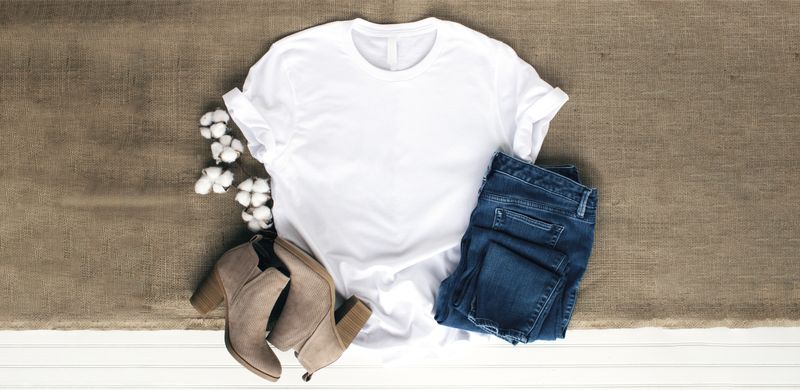
Aims to show your product in a stylized scene, with the goal of your shoppers living vicariously through your images. This connects your Etsy listings with the idea of a specific lifestyle or look, which you can further promote throughout your shop. It’s all about creating an original image that stands out from other Etsy sellers and doesn’t come across as overdone.

Scale
Showing your customers precisely what they are purchasing in a photo improves consumer loyalty and builds a positive shopping experience. Try different angles and close-ups to get the best shots that make your product shine, whilst next to a common object to create a sense of scale through reference.
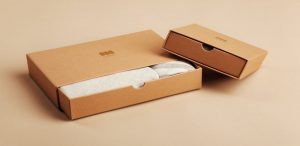
Packaging
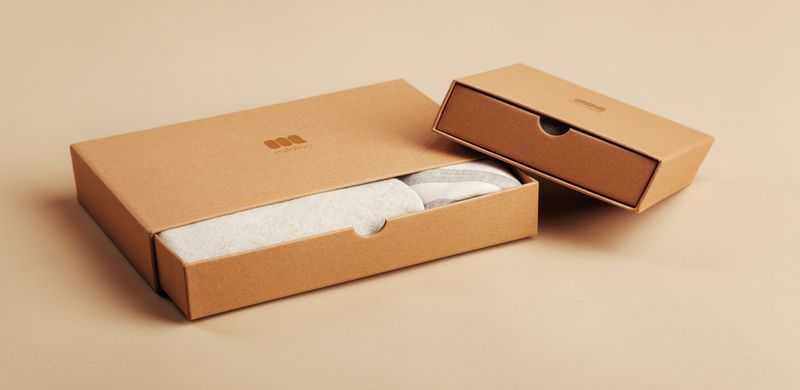
This style can be a strong selling point if your products come with gorgeous, branded packaging. Packaging design creative strategist, Jenn David Conolly states, “Colour influences consumers not only on the conscious level but also on the subconscious level.”
This indicates that packaging can influence customer purchasing decisions. A photo displaying the product next to the packaging will also connect the customer with the shopping experience from start to finish.
An Introduction to Cameras and Equipment
Not every Etsy shop owner has the budget to hire a professional photographer. Don’t worry, you can take great product photos with a range of different equipment.


Smartphones
An affordable option to create your own product photos with just natural light and a camera app.
Anyone with a relatively new smartphone in their pocket has a surprisingly advanced camera.
Product photography with a smartphone can deliver great images, certain smartphones will deliver better results. Check out this breakdown of what the best in the market can offer:
- Google Pixel 2 – perfect for product photography, the 12-megapixel rear camera with an f/2.0 is capable of taking images very rapidly, reducing the risk of blurriness.
- Apple iPhone 11 Pro – with a 12-megapixel triple camera array boasting a wide-angle, ultra-wide telephoto lens, there’s strong consistency between color and tone across all three cameras. This results in crisp and sharp shots.
- Samsung Galaxy S5 – great for quality images, the 16-megapixel rear camera with f/2.2 and a 31mm focal length also comes with features like autofocus and an LED flash.
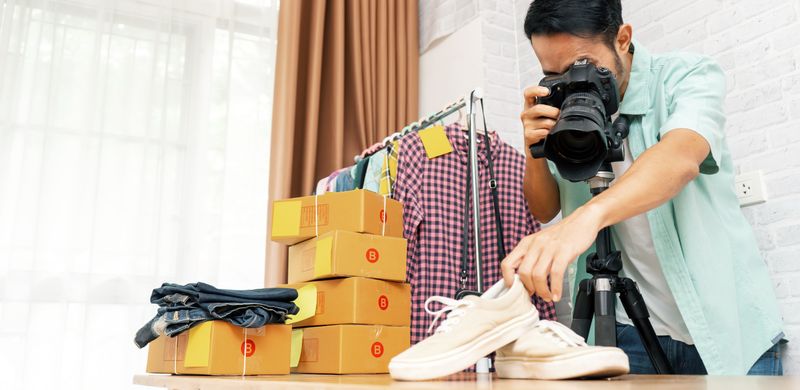

Professional Cameras
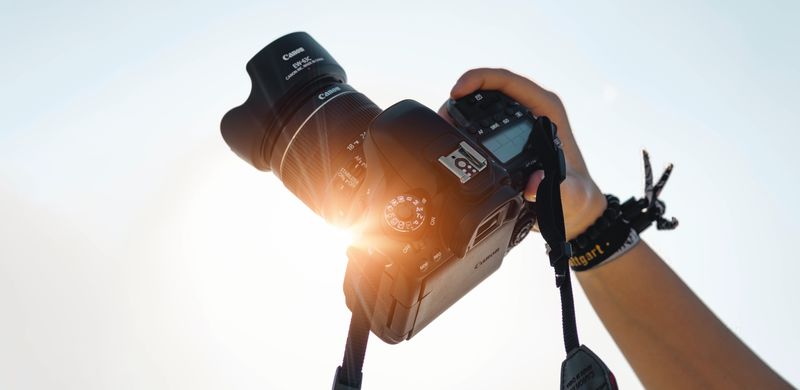
To get great product photos, a dedicated camera for product photography will produce better results than a smartphone. The best cameras are expensive, however, budget options have a range of features unavailable for most smartphones.
Cameras have larger physical sensors, producing better shots in low and high contrast conditions. Also, they have faster burst rates, slots for accessories, fast memory card compatibility, large sensors for a shallow depth of field, and strong battery life.
There are four main types of cameras on the market:
- Compact cameras – a great all-rounder, these are also known as point-and-shoots. Offering a compromise between features and affordability, these cameras come with a fixed lens, are easily portable, and are simple to use.
Automatic shooting modes are also ideal for those starting out, however, one key drawback is most budget options lack a viewfinder.
- Bridge cameras – halfway between a compact camera and a digital single-lens reflex camera (DSLR), bridge cameras have a better range of advanced features than a basic compact camera. With manual controls to change the shutter speed and aperture, huge zoom range and viewfinders often build in, you can get great product photos.
Two drawbacks of bridge cameras are the lenses are not interchangeable and fixed, plus the compact sensor falls short of DSLR/ mirrorless standards.
- Mirrorless cameras – lighter and more compact than a DSLR, these cameras have a fast shutter and continuous shooting speed. However these offer less choice in lenses and accessories than DSLRs, but this can be a big plus if you travel and don’t want to carry extra lenses without sacrificing quality.
- DSLRs – if you are looking for the best possible shot then there’s no substitute for a DSLR. While these tend to be heavier, they are very flexible allowing you to change lenses depending on the need.
The learning curve for DSLRs can be steep due to manual controls and a wide range of interchangeable lenses. Plus this is the most expensive type of camera currently available.
Additional Equipment
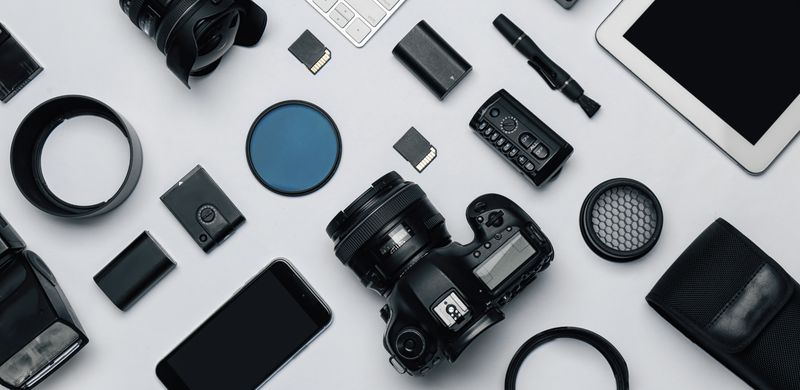
These tools all help you improve your Etsy product photography in a range of different ways:
- Lenses – along with the camera, these are the most important piece of kit. Lenses focus the light to reach your camera sensor. There are three main types: kit lenses, prime lenses, and telephoto zoom lenses.
- Tripods – are very valuable for product photography as they help produce clean and sharp shots by reducing camera shake.
- Remotes – helps you to avoid touching the camera to reduce camera shake, and take pictures from a distance.
- Triggers – these detect light or sound changes that are too quick for human reflexes alone to capture and are ideal for high-speed shots.
- Backdrops – the background is the largest element in any shot and pairing the product with the perfect backdrop is crucial. These are the three most popular: seamless paper, muslin, and green screens. Using the same background for all your items ensures a clean and consistent layout.
Pro Tip: Avoid automatic flash. While the built-in flash on your camera or pone may be useful in some cases, consider avoiding this. It can cause poor results like shadows, flare-ups, and reflections. You may want to look into some kind of external flash unit or lighting setup if you are looking for a flash that adds value to your shots
Parting Photography Advice
Use the photography tips in this article to create consistently high-quality product photos. While this may not happen overnight, keep experimenting with these basic tips to get the results you want.
Once you are happy with your product photography, you can create visually compelling Etsy listings and increase sales for your Etsy shop.
Which of these photography tips is your favorite? Did we miss some tips on how to create effective Etsy photos? Let us know in the comments below.
Make It Happen Today!
The post How to Take Great Product Photos on Etsy appeared first on Printify.

