The process of building an online store can be confusing, especially when you’re a beginner. You might not know what to do first. And so you do a little bit of everything in random order. Unfortunately, this might result in some missed steps. To make sure you’re set up for success, we’ve created a handy ecommerce checklist for new store owners.
What Is an Ecommerce Checklist?
An ecommerce checklist (or ecommerce website checklist) is a list of action steps that need to be taken in order to successfully launch an online store. It helps you think through the steps, processes, and assets you need to streamline before any store launch.
Why An Ecommerce Checklist Is So Important
Most of us already use checklists for things like shopping, disaster preparation, and so on. They help us ensure that no steps in a process are skipped or neglected. Similarly, an ecommerce checklist can help you ensure the launch of your online store goes as smoothly as possible.
Many aspiring ecommerce entrepreneurs feel overwhelmed by all the steps they have to take early on.
What theme should I pick? Where do I place images? Should I have a cart icon on every page or just the product page? What design elements and apps should I use to supercharge my store? What’s a payment gateway and how do I set it up?
With an ecommerce checklist, you can overcome this feeling of overwhelm and knock your store out of the park. So, to help set you up for success, we’re sharing the exact checklist that many of the successful entrepreneurs we’ve featured followed when launching their Shopify store.
Your Ecommerce Store Launch Checklist
1. Add a Custom Domain
Picking a custom domain name for your online store helps you gain brand recognition and makes it easier for people to remember your web address.
You’ll want to use a domain name tool first to see if your preferred name is available. If it is, you can buy your custom domain directly through Shopify.
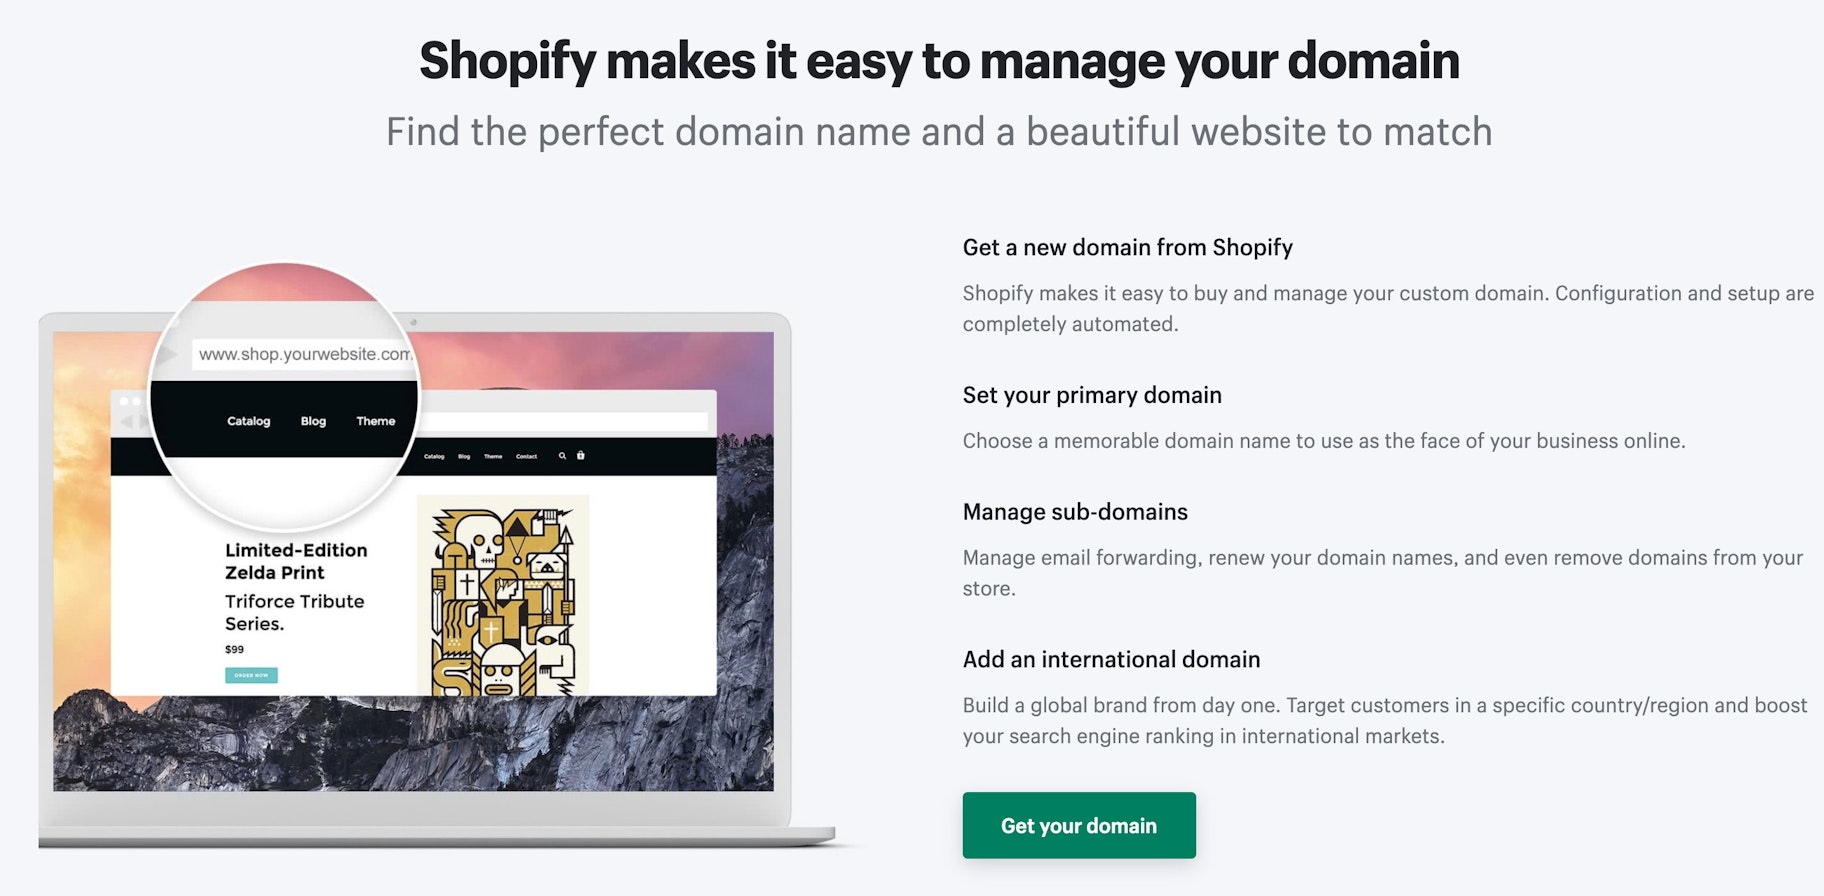
If your business name is already taken, it doesn’t necessarily mean you have to go back to square one. Here’s where a business name generator can help you find creative names for your ecommerce store. Little Boy Blue, for instance, uses shoplittleboyblue.com for its URL.
Additionally, you can check out top-level domains (TLDs) like .shop or .store. You’ll notice that many stores use TLDs because they make for a unique and memorable URL.
2. Create Your Standard Pages
Any online store needs a few pages where it can list helpful information about the business. Some of the visitors will want to know your story and how you started the company. Others will browse around, trying to get more information about the products listed on your website.
Before you jump into creating product pages and checkouts, make sure you have a:
- Home page: This is the most important page on your website. Your homepage helps establish the overall look and feel of your store and ensures customers have clear navigation to browse other pages. Links to your category pages and product pages go on your homepage.
- About page: Here, your customers learn about the purpose of your business, how your company began and what your brand values are. Tell your customers your brand story and what your organization stands for. Here are some About Us page templates to inspire you.
- Contact page: The contact page lists how customers can get in touch with you. You might list a physical address with a map showing your location, a phone number, email, and even a contact form.
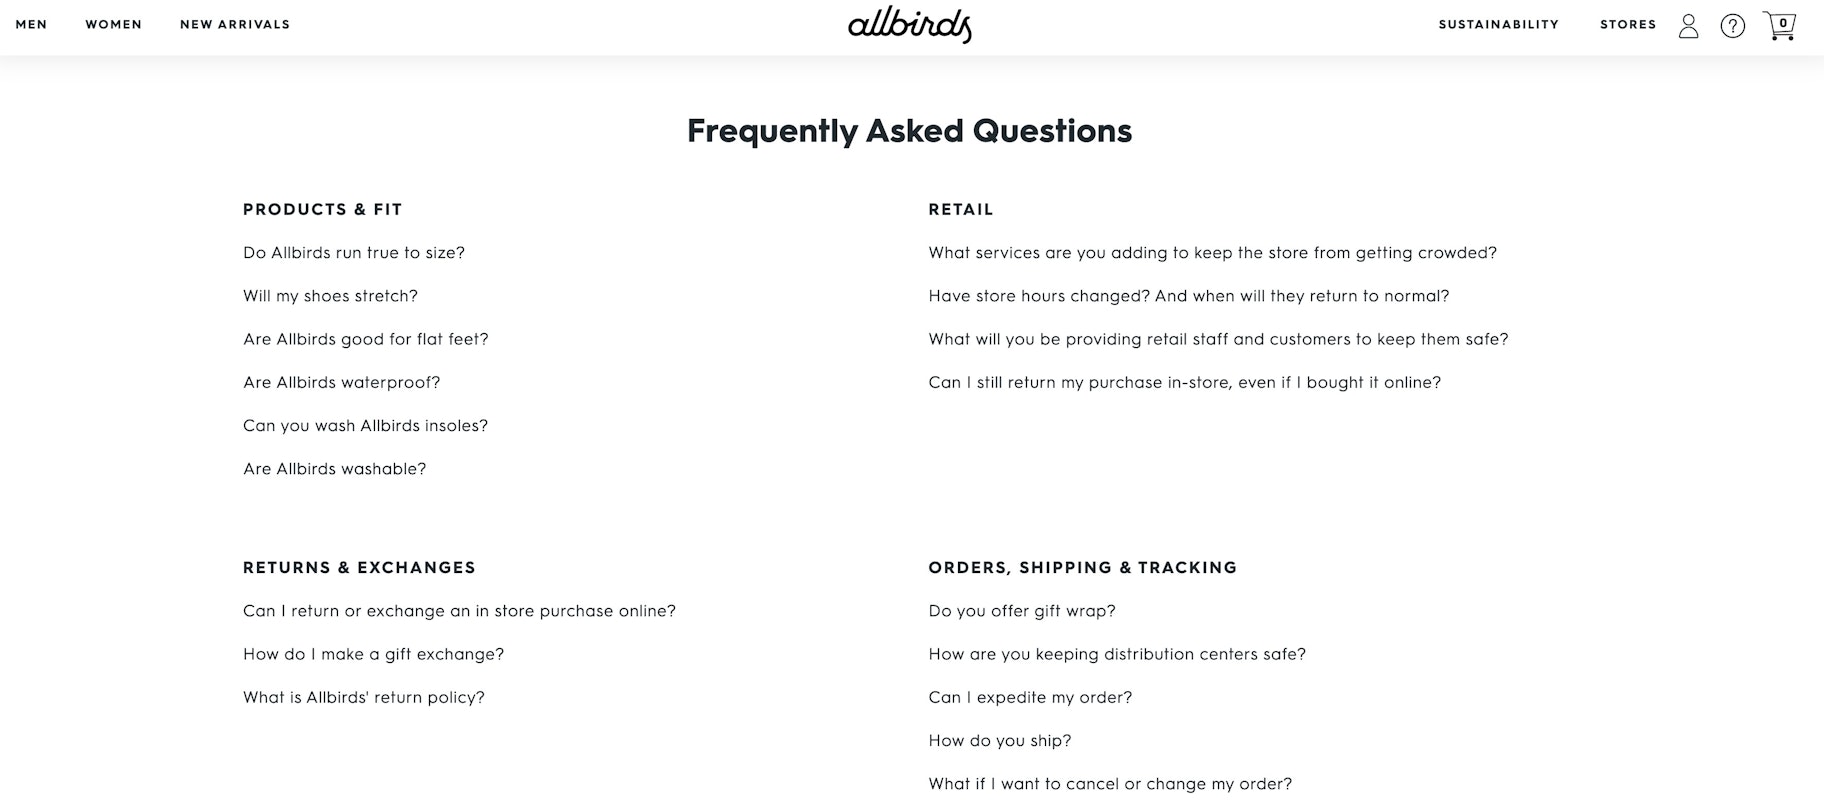
- FAQ page: If many people ask the same questions about your products or services, save them some time by answering these queries on an FAQ page. You can cover topics like how long shipping takes or what your returns policy includes. For inspiration on what type of questions to include on your FAQ page, check out Shopify store Allbirds’ FAQ section.
- Terms of service: What’s included in your product or service? What kind of legal policies do you have in place to protect yourself?
- Privacy: This page addresses how you use your customer’s information. Lawyers can often provide advice on how to word your privacy policy for compliance purposes.
3. Optimize Your Checkout Process
Your checkout experience can make or break your chances of a sale. With online shopping cart abandonment rates nearing highs, it’s wise to minimize friction and resolve any errors at checkout. When going through your checkout process, make sure:
- Shoppers can easily edit the contents of their cart
- Shipping rates appear during checkout
- It’s easy to apply discount codes
- Various payment methods are available, including PayPal
- Customers can easily enter shipping details
- The contact page is easy to access in case a problem arises
- You send an email to confirm each purchase
- Language and currency switching is possible
4. Choose Your Sales Channels
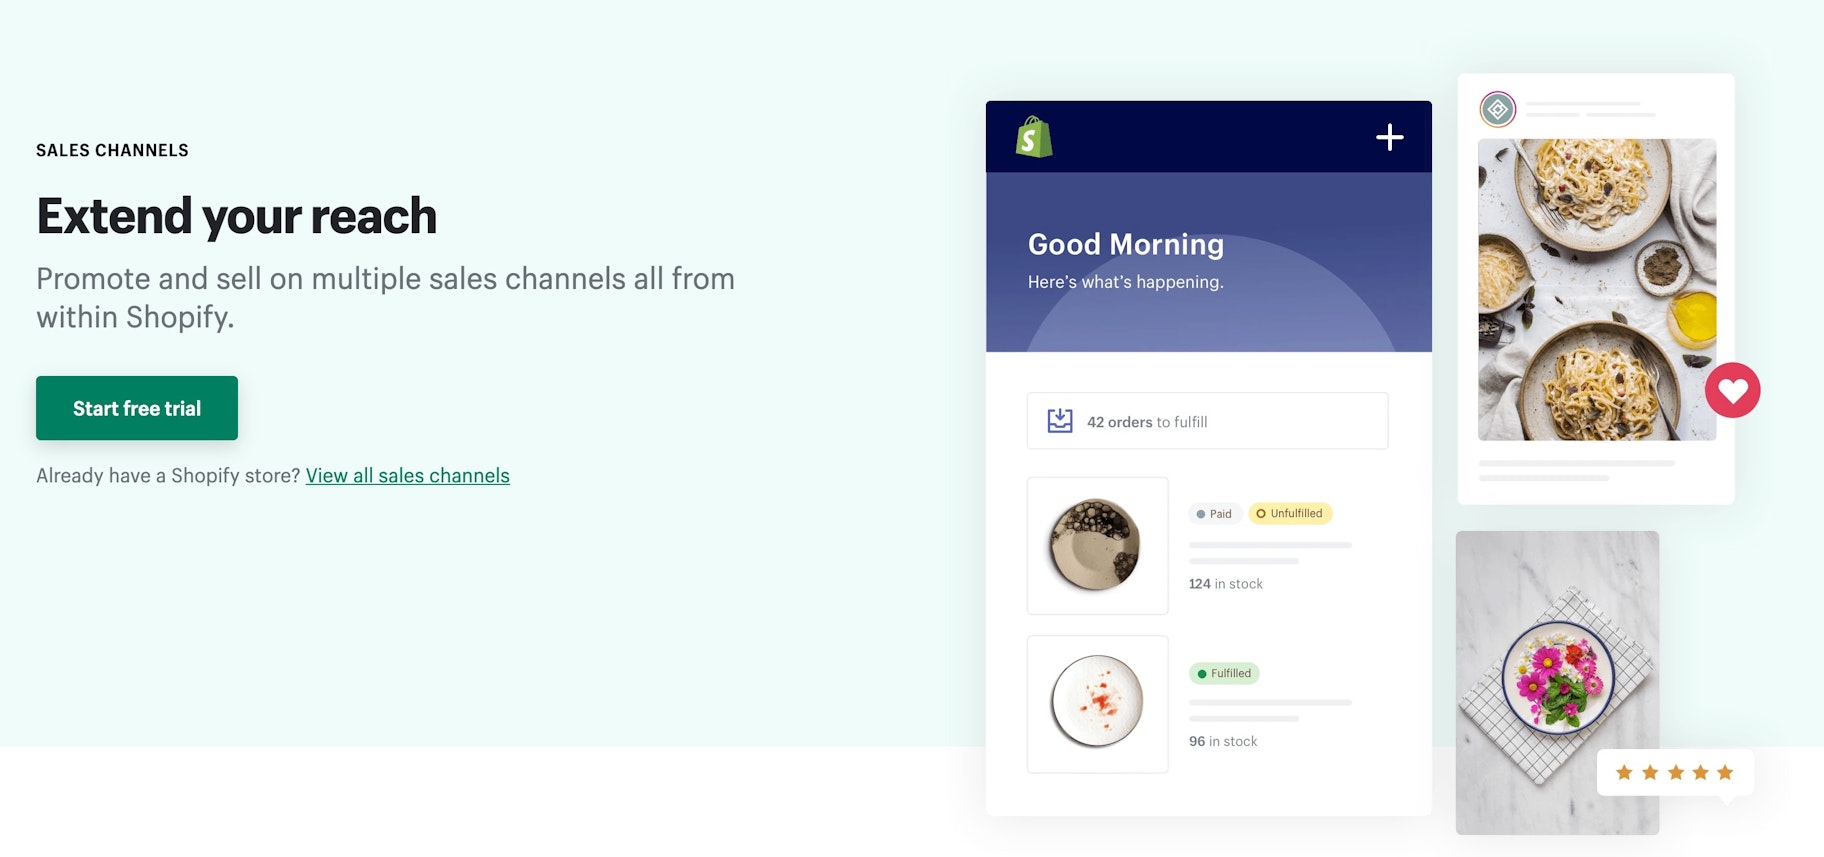
Today’s consumers use multiple channels to shop with a brand. This means spreading your efforts across various platforms should improve your chances of getting more sales.
For instance, you might combine your ecommerce website with a marketplace like Amazon or Etsy, where you can sell your products alongside other vendors. You can even engage in social selling since some of your customers likely buy products on social platforms.
Here are some online sales channels you can add to your Shopify website:
- eBay
- Amazon
- Instagram Shopping
- Facebook Shopping
- Facebook Messenger
- TikTok
- Google Shopping
- Buy buttons
Each sales channel connects with the backend of your Shopify website, so you can easily track products, orders, and customers across all platforms.
5. Work on Ecommerce SEO
Most of your customers will start their product search on Google. With that in mind, it’s worth making sure your website shows up whenever your clients search for words related to your products or services.
Ecommerce SEO involves several steps, such as:
- Keyword research: Find and list terms customers might use to find your store.
- Keyword optimization: Use your selected keywords in product descriptions, category descriptions, meta titles descriptions, H1s, and URLs.
- Optimize images: Use “alt attributes” and image meta descriptions to improve your chances of being ranked high for specific keywords.
- Schema markup: Using schema markup improves your chances of getting rich snippets displayed at the top of the search results by Google.
- Create a sitemap: Design a sitemap and submit it to Google for crawlers to navigate. This will help Google categorize your pages.
- Optimize website performance: Invest in a CDN, choose the right host, and compress your image files to make your website load quickly and improve customer experience.
- Use content marketing: Use blogs to rank your keywords ranking and get links to your high-value pages via guest posting.
For in-depth advice on how to nail each part, check out our quick and dirty beginners guide to ecommerce SEO.
6. Set Up Email Marketing
Email marketing is a great way to welcome new customers and nurture existing ones. On Shopify, you can choose from several email apps to create sequences that nurture your customers and ultimately drive sales. Use an app like Shopify Email or Klaviyo and set up the following emails
- Welcome emails – Introduce customers to your brand, set expectations early.
- Abandoned cart emails – Remind customers about the items in their cart.
- Order confirmation emails – Let customers know you received their order request.
- Cross-sell emails – Promote items that complement a customer’s main purchase.
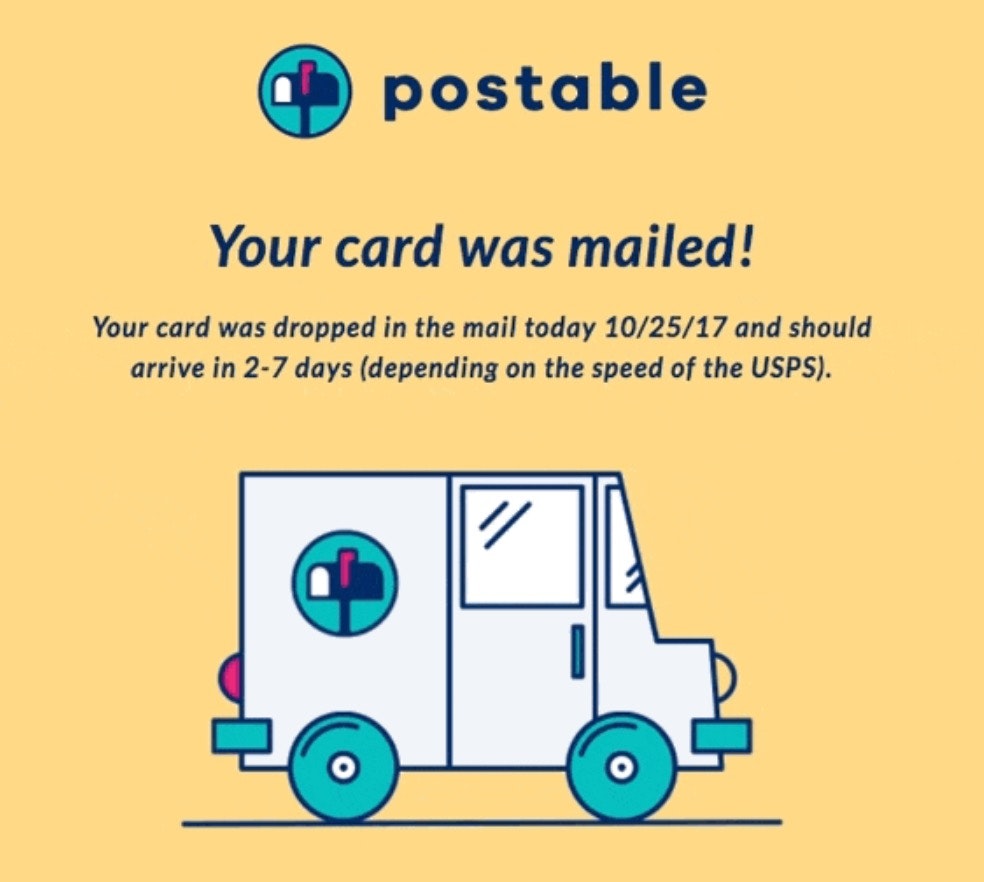
- Shipping notification emails – keep customers up-to-date about the delivery status of their order. Greeting card company Postables does this to eliminate post-purchase anxiety and build trust with customers.
7. Install an Analytics Tool
Analytics is the key to optimizing a successful store. The right data shows you what kind of products your customers like most, when they’re most likely to buy, and more.
Many store building services come with analytics and reporting built-in so that you can track things like conversion rates and traffic. However, a lot of ecommerce businesses also use third-party tools like Google Analytics.
Using a combination of tools for analytics can give you a more in-depth view of your customer’s journey, making it easier to determine what you need to do to get the most sales.
8. Adjust Your Tax and Shipping Settings
Check your tax and shipping rates are appropriate for whatever you’re trying to sell. If your shipping costs aren’t high enough, you could be losing profits by paying for order fulfillment out of your own pocket.
Think about whether you’ll need to add extra fees for international shipping and how much you should charge for express delivery. Depending on where your customers and business are located, you might need to add sales tax too.
9. Install the Necessary Apps
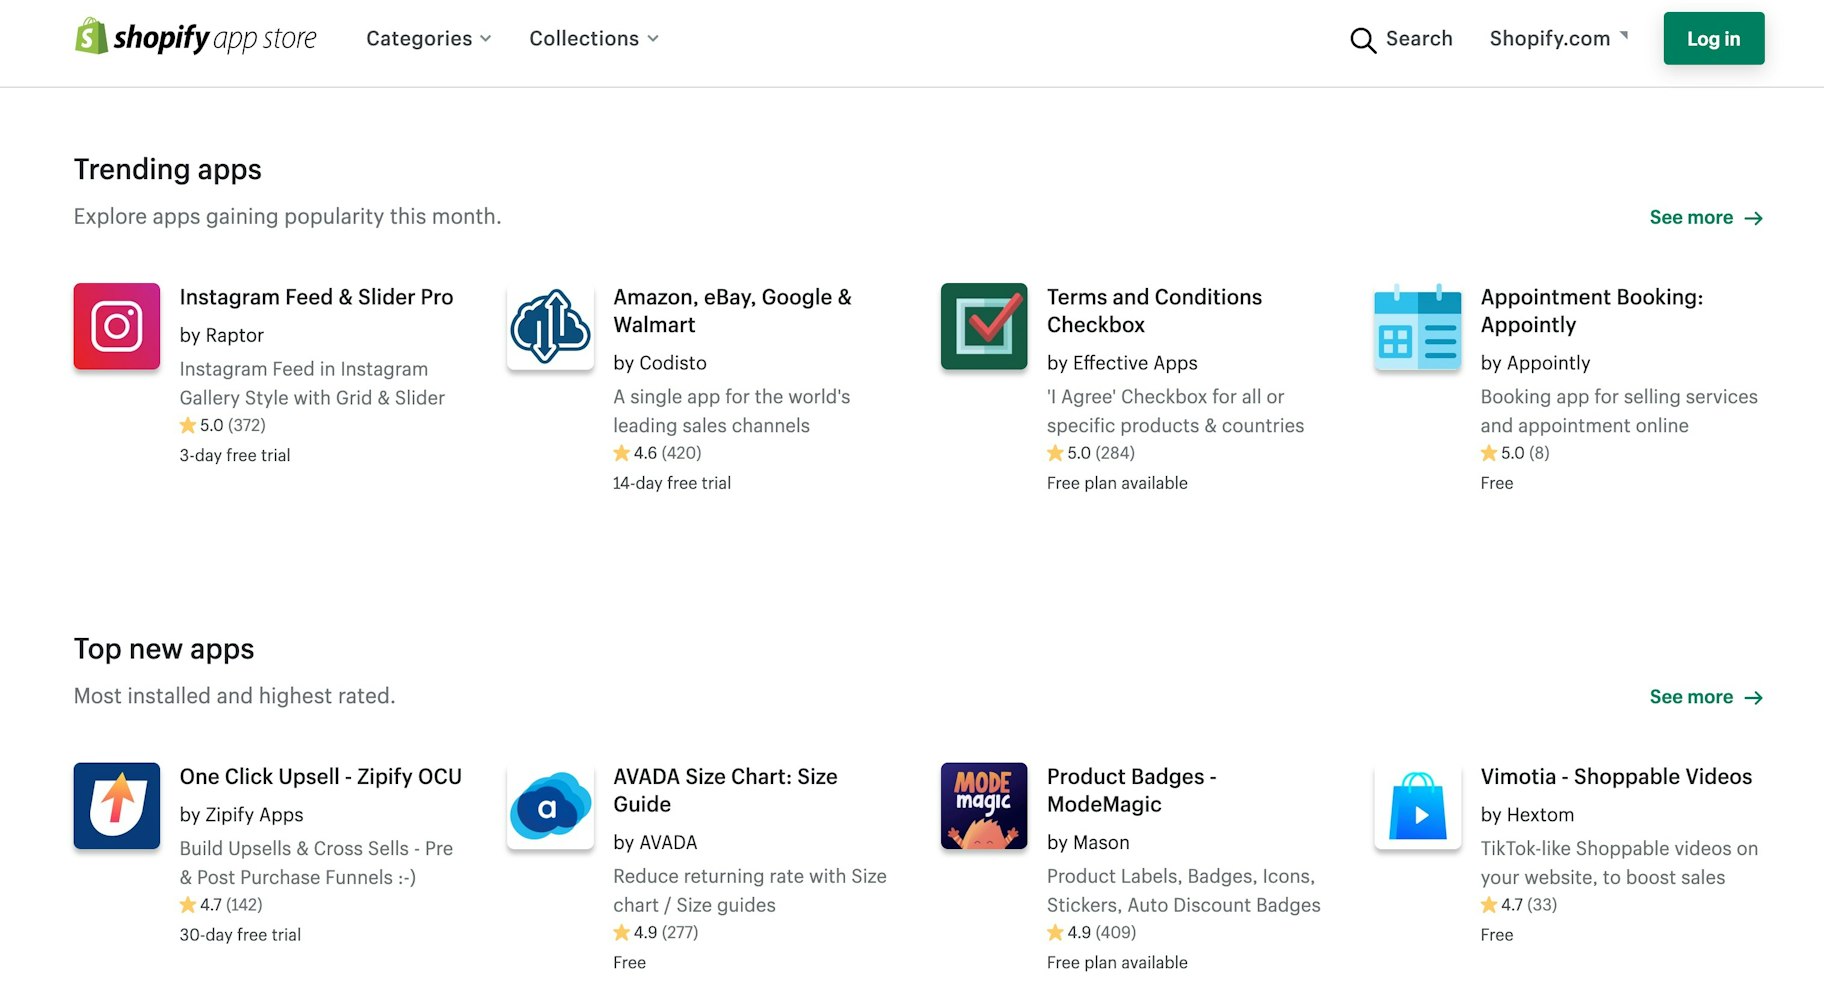
Apps are a great way to expand the functionality of your website. Site builders like Shopify have comprehensive app stores where you can find tools to help with everything from SEO to email marketing. Not every app will be necessary to your business, but some could help you to earn more sales and traffic.
For instance, you might consider adding a social proof app to your store, where you can display testimonials and reviews from previous customers to encourage conversions. Other helpful apps might include upselling and cross-selling tools or apps that allow you to set up recurring subscription-based payments.
Check out the Shopify App Store to find more handy apps to install for your website.
10. Test Before You Launch
Make sure you have the right first impression on your audience by thoroughly testing your website before launch. Check everything works as it should, and there are no broken links or pages that don’t load. Your site should perform well on all devices (including mobile).
Once you launch your website, commit to performing A/B tests consistently to optimize your results. You can A/B test your:
- CTA buttons to improve conversions
- Payment methods and functionalities
- Marketing campaigns and email campaigns
It’s also worth testing SEO regularly and ensuring your website works well with different web browsers.
Bonus: Ecommerce Web Design Checklist
Your ecommerce website’s design can make or break your customer experience. So we thought why not share a checklist for that, too? Here’s the ecommerce web design checklist that will help figure out the key design elements you need when creating your store’s website.
Ecommerce Web Design: Best Practices to Follow
Simplify your category navigation: Make it easy for customers to search for items and apply size, color, and product type filters. The easier it is for customers to find the category they’re looking for, the easier it will be for them to make a purchase decision.
Create a responsive website: With more people using mobile than ever before, you don’t want a website theme that doesn’t render well on a tablet or smartphone. Fortunately, the Shopify Theme Store has plenty of responsive themes for different industries.
Use great product images: High-quality product images can help build confidence in your customers. Fortunately, it’s possible to take amazing product images with your smartphone. Take several shots of each product from different angles and make a carousel for each product page. Your customers will thank you.
Leverage scannable content: Shoppers won’t spend too much time trying to decipher your content. Make it scannable by keeping paragraphs and sentences short, using bulleted lists for large blocks of text, and bolding key information.
Summary: Your Ecommerce Store Launch Checklist for 2021
You might be a little overwhelmed by this really long ecommerce checklist. And that’s a normal feeling. Many new entrepreneurs do feel like they’re in over their heads when they start out. However, half the battle is knowing what to do. I hope that knowing every single step you’ll have to take over these first few months helps you inch closer to achieving the success that you dream of.
In summary, here are all the steps that will make up your Shopify store checklist:
- Use a custom domain
- Build your standard pages
- Optimize your checkout process
- Pick your sales channels
- Do ecommerce SEO
- Set up email campaigns
- Install an analytics tool
- Adjust your tax and shipment settings
- Install the right apps
- Test store before launch
It’s going to be a busy few months as you build up that new online store, but with our checklist, you can just cross things off to see how far you’ve come.
Frequently Asked Questions About Ecommerce Checklists
How Many Products Should You Launch With?
There’s no definite answer to this question. You could start with one product and add complimentary items to your collection along the way. However, many ecommerce stores start with 10 to 12 items to give their customers a wider assortment of products to choose from.
What Are the Basic Functional Requirements for An Ecommerce Website?
Core functional requirements for an ecommerce store include:
- Clear navigation and accessibility
- Mobile-responsive design
- A smooth checkout process
- Search bar and cart button on every page
- Privacy policy & return policy
Want to Learn More?
- I Added 423 Products to Oberlo. Here’s How I Managed the Volume.
- 12 Things I Wish I Knew When I Started Dropshipping
- 100+ Best Products to Sell in 2021
- 50 Ways to Get Sales With Dropshipping


